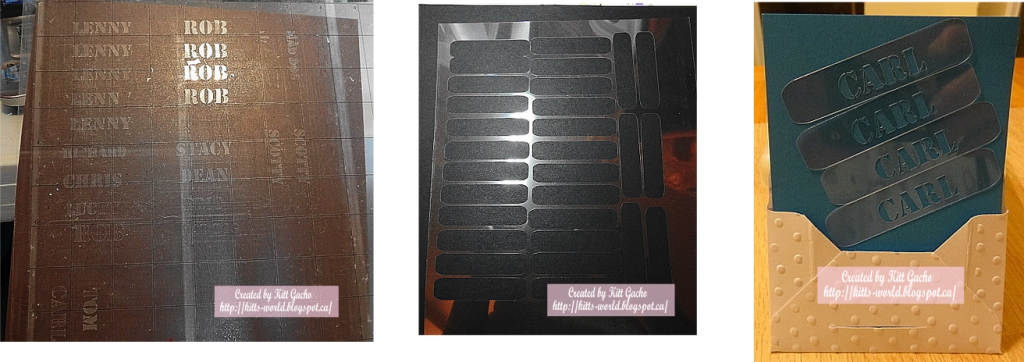
Have I told you how much I love my Silhouette Cameo lately? LOL. I'm still a newbie using it. My husband wanted a way to personalize the golf balls. He said that the guys need a better way of identifying the golf balls. He wanted to get a little gift for the guys he plays golf with. He said the guys each like a different brand of golf ball and when he looked online he found that you didn't get a choice of brand and it was very expensive to personalize them. He said they have golf ball markers but he was looking for something more personable. It would have to be small enough to fit on a golf ball and portable to throw in the golf bag. I told him I had an idea that I could create a personalized stencil out of transparency film. (overhead projector sheets). He liked the idea and said he wants at least 5 stencils per name and could I save it so when they loose them I can make more. I know I had transparency film but I couldn't find it. So off we went to Office Depot. And talk about sticker shock. For a box of 50 transparency sheets was $39.99. I only needed a couple of sheets, as I didn't even know how if my idea would work. I spoke to a sales lady and she said that if I only needed a couple of sheets I could buy it from their copying department. That was a great TIP. It cost 5 cents a sheet. I bought 10 sheets. LOL. Well this was my first time cutting a different material other than cardstock with my Silhouette and it didn't disappoint me. Love my Silhouette Cameo. Oh, I already said that. LOL. In looking through the cutting material list I didn't see one transparency film. So, I figured this was going to be a trial and error and glad I bought 10 sheets. I have the designer edition and chose the clear sticker paper. It cut like butter. The stencils peeled right out with no need for weeding the letters out.

I must say that cleaning off the mat was a job with all the little letters sticking to it besides being hard to see. I put the cutting mat over color paper to help with that. The labels were cut at 2.75Wx0.625H. The names were cut 1.500W x 0.390H. Some adjustments were needed such as, to be smaller due to the fact there were more letters.
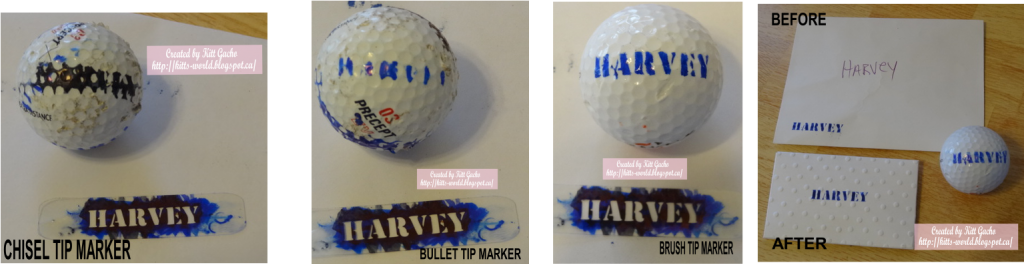
After they were cut out came the real test. The golf ball which has a bumpy surface. My husband bought chisel tip sharpie markers to go with the stencils. It didn't work out well. Of course I had to try my Spectrum Noir markers. Again, it didn't work well. I had one more type of marker in my arsenal to try. My LePlume marker has a brush nip. It worked like a charm. If my husband wants to give them markers (I had them for years), I could part with a few old ones and get some new ones to replace them. LOL. See pix below for results of chisel, bullet and brush marker
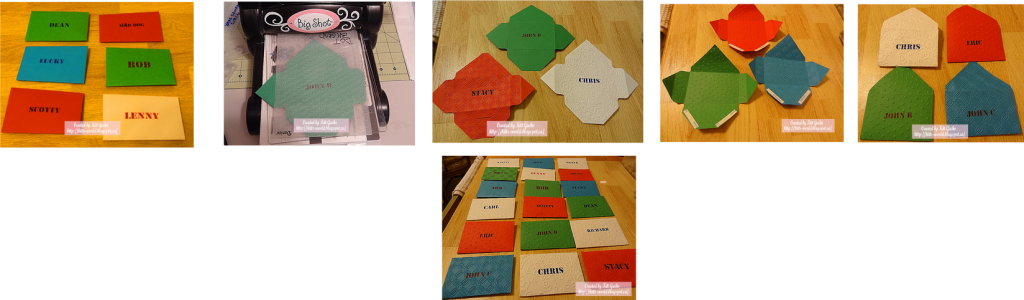
I have the memory makers envelop punch board and decided I need to play with that since I haven't used it since I got it last June. I made the stencils but they were really lost in the smallest envelop I had on hand. Since my husband wants to give these as stocking stuffers I used the gift card size measurements on the board. I wanted to dress it up a bit and used the Darice big dots embossing folder and ran through the Big Shot. I used white cardstock, it reminds me of the dimples on the golf ball.
I wanted the envelop to be able to close again after they open it. I cut a slit to tuck the flap back in. I the other envelops in different colors and use a different embossing folders. My husband just called from the golf course and ask if he can add two more names for stencils. That makes 18 names. Follow me along on this creative journey and I will visit you too. Stay tune for more creative discovery's coming soon. Thanks for your comments. I love reading them.
No comments:
Post a Comment
Thank you for your comments. I love reading them.